These vegan salted caramel apples are a diary-free indulgence for spooky fall holidays. Unlike traditional caramel apples, these vegan caramel apples contain no dairy or corn syrup. Flaked sea salt adds a level of indulgence and enhances the sweetness of the apples and caramel coating. Best of all, the caramel doesn't stick to your teeth like conventional caramel does. Makes 4 delightfully spooky treats. Ready in approximately 3 hours.

Jump to:
Why This Recipe Works
You'll be pleased to know there is no candy thermometer needed; this is a fairly easy recipe that is so fun to make. They're ready to enjoy in about 3 hours including preparation and chilling time.
Dairy free (vegan) caramel is straightforward to make, similar to traditional caramel. Here, full fat coconut milk replaces the cream, coconut sugar for granulated sugar and brown rice syrup for corn syrup, although you can use the latter. Because there is a higher fat content and lower protein, vegan caramel does not harden in the same way as conventional caramel—it stays slightly soft to the touch, yet it still coats the apple surface nicely. Because of it's softer nature, vegan caramel does not stick to your teeth like traditional caramel.
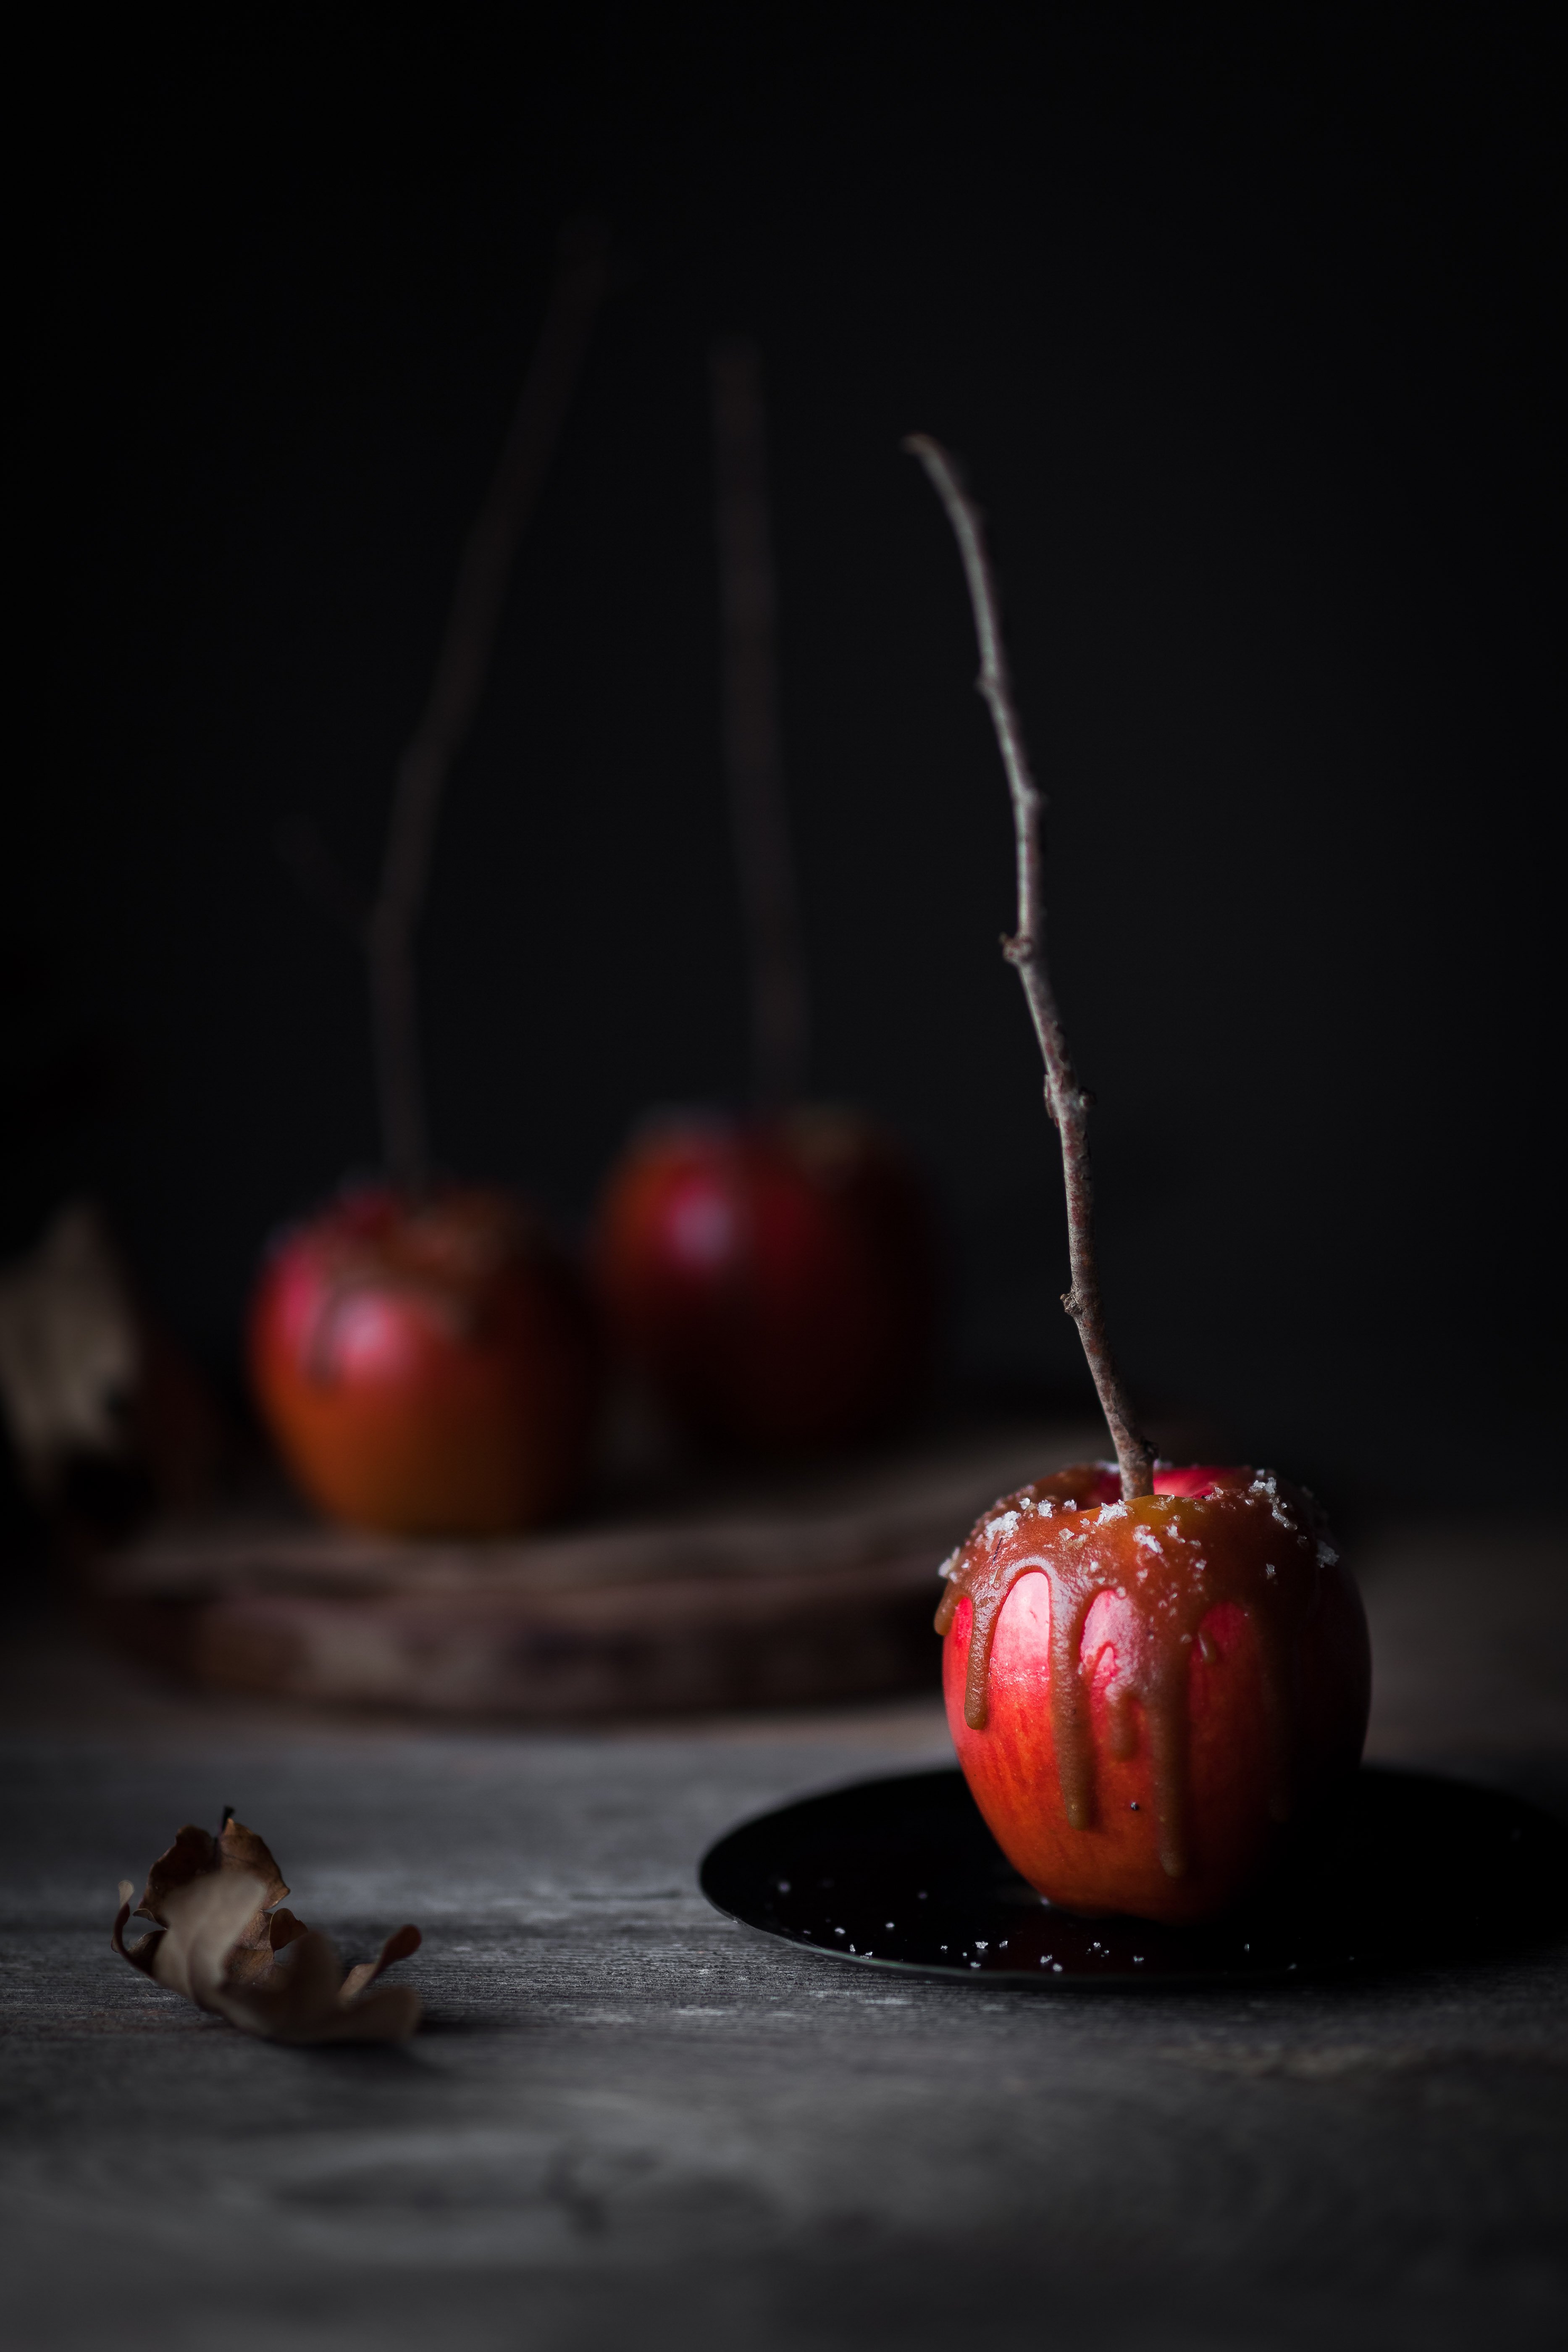
A light sprinkling of flaky sea salt compliments and enhances the sweet caramel coating, however, you can omit it is you wish. For my apples, I coated them in a layer of caramel, let them set in the fridge for 10 minutes, and then drizzled any remaining caramel down the sides for a "drippy candle" look before sprinkling on the sea salt.

Ingredients & Substitutions
The ingredient list and substitutions for this recipe are as follows. For the full quantities of each, Please see the recipe card further down the post.
Apples: you can use any apple variety you like. Some of my favourites include Granny Smith, Envy, Cosmic Crisp or Gala. I like to use apples that don't have food grade wax coating as this can prevent the caramel coating from sticking nicely.
Coconut oil: this adds a touch of gloss and flexibility to the caramel coating. It also allows the caramel to become like a sauce that can be poured or dipped into.
Coconut sugar: You can also use semi-packed brown sugar in equal measure.
Organic brown rice syrup: This helps prevent the caramel from crystallizing during the curing process. If you can't find brown rice syrup, you can exchange it for light corn syrup in equal measure; however, I have found brown rice syrup much easier to work with because it won't crystallize during heating.
Full fat coconut milk: don't use lite coconut milk as it can make the caramel too thin.
Flaked sea salt: flaked sea salts work best for sprinkling and, with it's irregular crystallized texture, it adds visual appeal.
Popsicle sticks: these can usual be found in gourmet supply stores or grocery stores.

Step by Step Guide
For the full detailed instructions on making my vegan caramel apples, please see the recipe card further down the post.
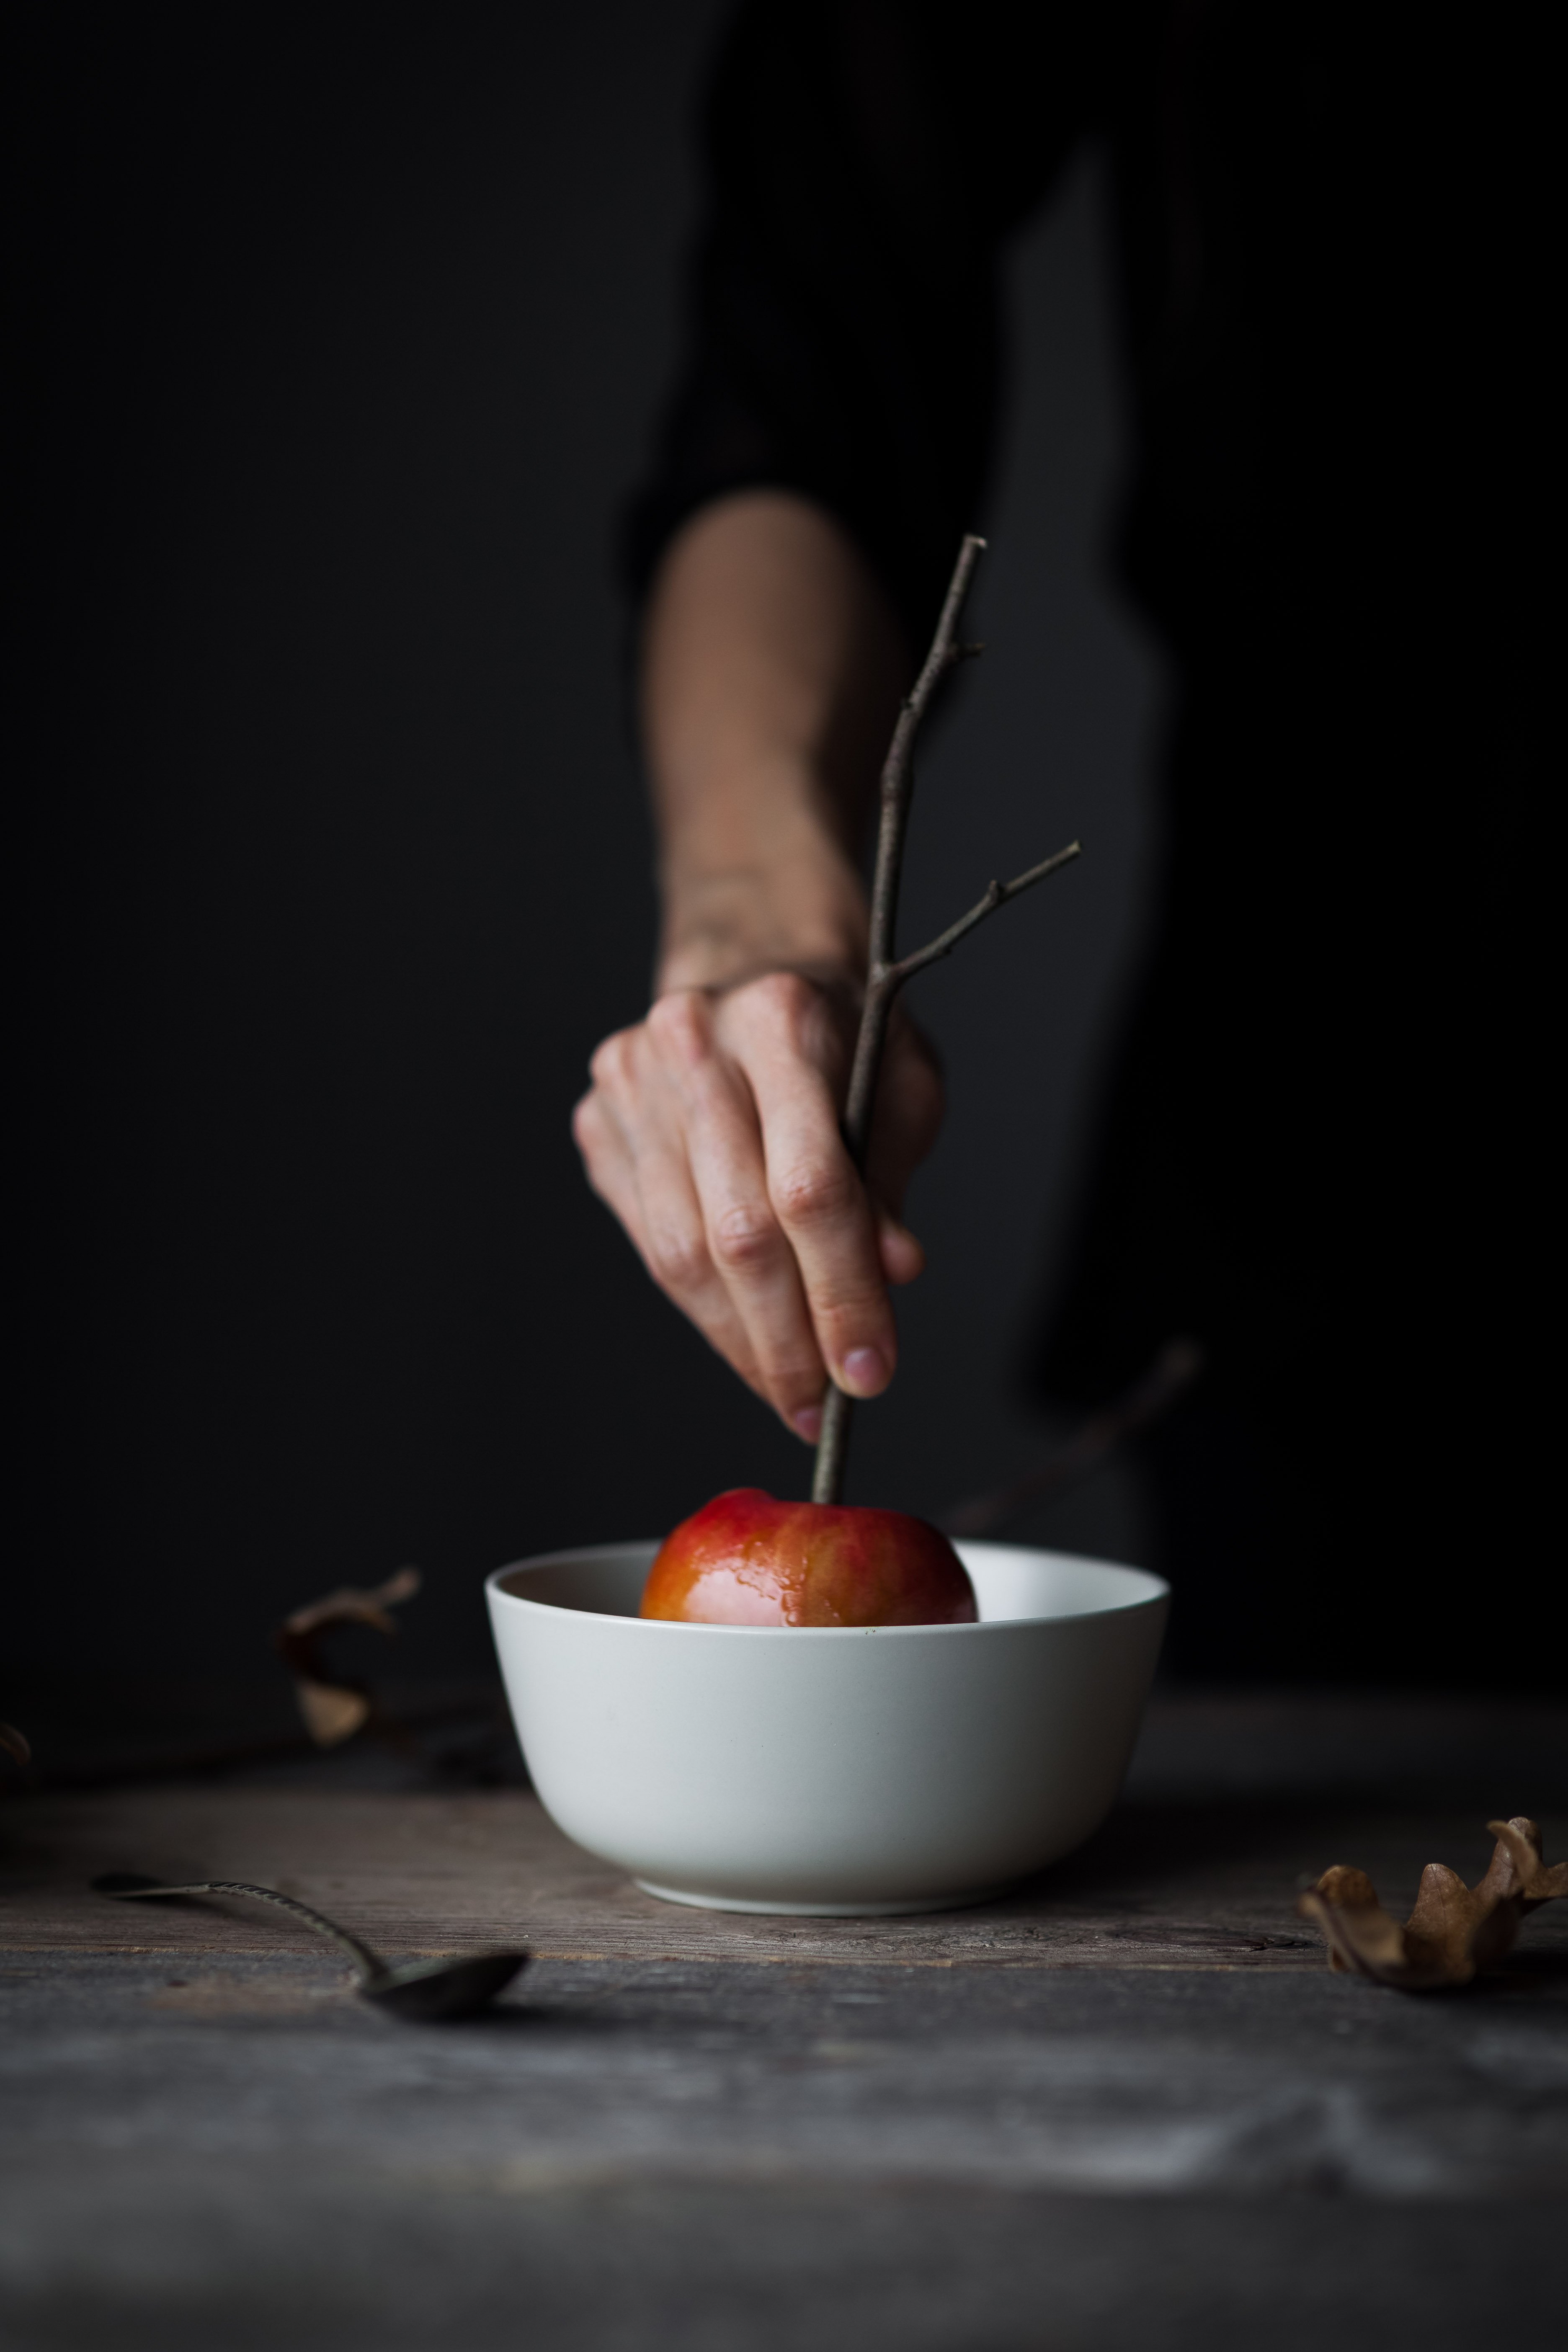
STEP 1: Wash and remove the stems of the apples, then insert a popsicle stick where the stem was.
STEP 2: Prepare a medium baking sheet with parchment.
STEP 3: In a small saucepan heat the coconut oil, coconut sugar and brown rice syrup to a light boil.
STEP 4: Stir in the coconut milk and vanilla until thickened.
STEP 5: Remove it from the heat to cool at room temp until it ribbons off the back of a spoon.
STEP 6: Dip the apples into the caramel and top with flaky sea salt. Leave them in the fridge to fully set up before serving.

Flavour Options
You don't have to stick to salted caramel for these apples. I have also coated them in an assortment of toppings such as:
- finely chopped pistachios
- finely chopped almonds or pecans
- chocolate shavings
- mini chocolate chips
- coarse sugar sprinkles
Helpful Tips
- Wash and dry the apples well to remove any debris or dirt.
- Use unwaxed apples because the wax coating can prevent the vegan caramel from sticking properly.
- Use a quality flaked sea salt. I use a local brand of sea salt, however, Maldon Salt is a good choice if you don't have anything local.
- Don't let the caramel sit too long otherwise it will be too thick to coat the apples evenly.
- Use a heatproof 2 Cup measuring glass for the caramel. This vessel makes it easy to dip the apples and coat them evenly.
Storage
Storage: keep these caramel apples on the parchment lined baking sheet, covered with a layer of plastic wrap, in the fridge. You can also keep them in an airtight container in the fridge. They will last this way for 3-4 days. Make sure they are stored upright to preserve the caramel coating.
For information on safe food handling and storage, please visit: the Government of Canada Food Safety website, USDA Food Safety Inspection Agency website or your country's official food safety website.
More Recipes
Vegan baked apples with oat struesel
Vegan apple spice baked oatmeal
Dairy-free pumpkin spice latte
If you made my vegan caramel apples please leave me a comment below with a star rating; it really helps others who are interested in making the recipe. For more from The Simple Green, follow me on Instagram, Facebook or Pinterest. Consider becoming a subscriber to receive emails of new recipes and posts.

Vegan Salted Caramel Apples
Special Equipment
- 4 popsicle sticks
Ingredients
- 4 medium apples
- ¼ cup coconut oil
- ¼ cup coconut sugar, or semi-packed brown sugar
- 2 tablespoon organic brown rice syrup, or light corn syrup
- ¼ cup full fat coconut milk
- 1 teaspoon vanilla extract
- 1 teaspoon flaked sea salt
- 4 Popsicle sticks
Instructions
- Prepare a baking sheet with parchment paper. Wash and dry your apples, then remove the apple stems by gently twisting them off. Insert a Popsicle stick into the centre of the apple where the stem was.4 medium apples, 4 Popsicle sticks
- In a small saucepan over medium heat, add the coconut oil, coconut sugar, and brown rice syrup. Bring this mixture to a light boil, stirring constantly. The mixture will seem clumpy at first, but keep stirring and it will smooth out nicely.¼ cup coconut oil, ¼ cup coconut sugar, 2 tablespoon organic brown rice syrup
- Once the mixtures reaches a light boil, stir in the coconut milk and vanilla. Bring the mixture back to a light boil, then reduce the heat to low, stirring constantly for another minute to prevent burning. The mixture should thicken slightly.¼ cup full fat coconut milk, 1 teaspoon vanilla extract
- Remove from heat and carefully pour the hot caramel into a heatproof bowl (I find a glass 2 cup measuring cup works well). Let the caramel cool at room temperature for 30-40 minutes, stirring occasionally. The caramel is ready when it coats the back of a spoon and ribbons as it falls. Don't wait too long or the caramel will become too thick to coat the apples evenly.
- Dip the apples into the caramel going ¾ of the way up. If you find that the caramel is running off the apples too much, leave it to cool longer. You can also place the caramel in the fridge for 15 minutes to help it thicken.
- Place the coated apples upright on the prepared baking tray and cool in the fridge for at least 2 hours. Sprinkle with flaked sea salt before serving.1 teaspoon flaked sea salt
Heidi's Notes
Nutrition
This is an approximation of the nutrition offered in this recipe, and is created using a nutrition calculator. I am not a nutritionist and cannot guarantee accuracy. If your health depends on nutrition information, please calculate again with your preferred calculator.
Disclaimer
all recipes on The Simple Green are developed and tested in a Canadian kitchen, at normal elevation, using electric appliances and ingredients available in Canada. Results may vary.
Just leaving my two cents on how much I love this healthy treat. xo
😀
Heidi These look so good! Love your beautiful moody pics on this gorgeous recipe! Can't wait to try.
Thank you so much, Crystal! Let me know how you like them 🙂 xo
Absolutely delectable!
Was wondering if you have make ahead and storage advice for the caramel sauce?!?
I'm so happy to hear the feedback, Jane! I haven't tried storing or making it ahead of time; something I will have to try! Thanks for the inspiration.